|
1st step : find a new MGB
-positive earth- fuel pump.
MGB
spare parts are
available almost anywhere, and there are many alternative fuel pumps.
Some are electronics (and polarity concious).
But I wanted an original SU replacement to avoid any change in pump's
fittings and hoses.
My MGB GT is a positive earthed mark 1. Original
part number
is AZX1318, but positive earthed fuel pumps are non longer
availables :
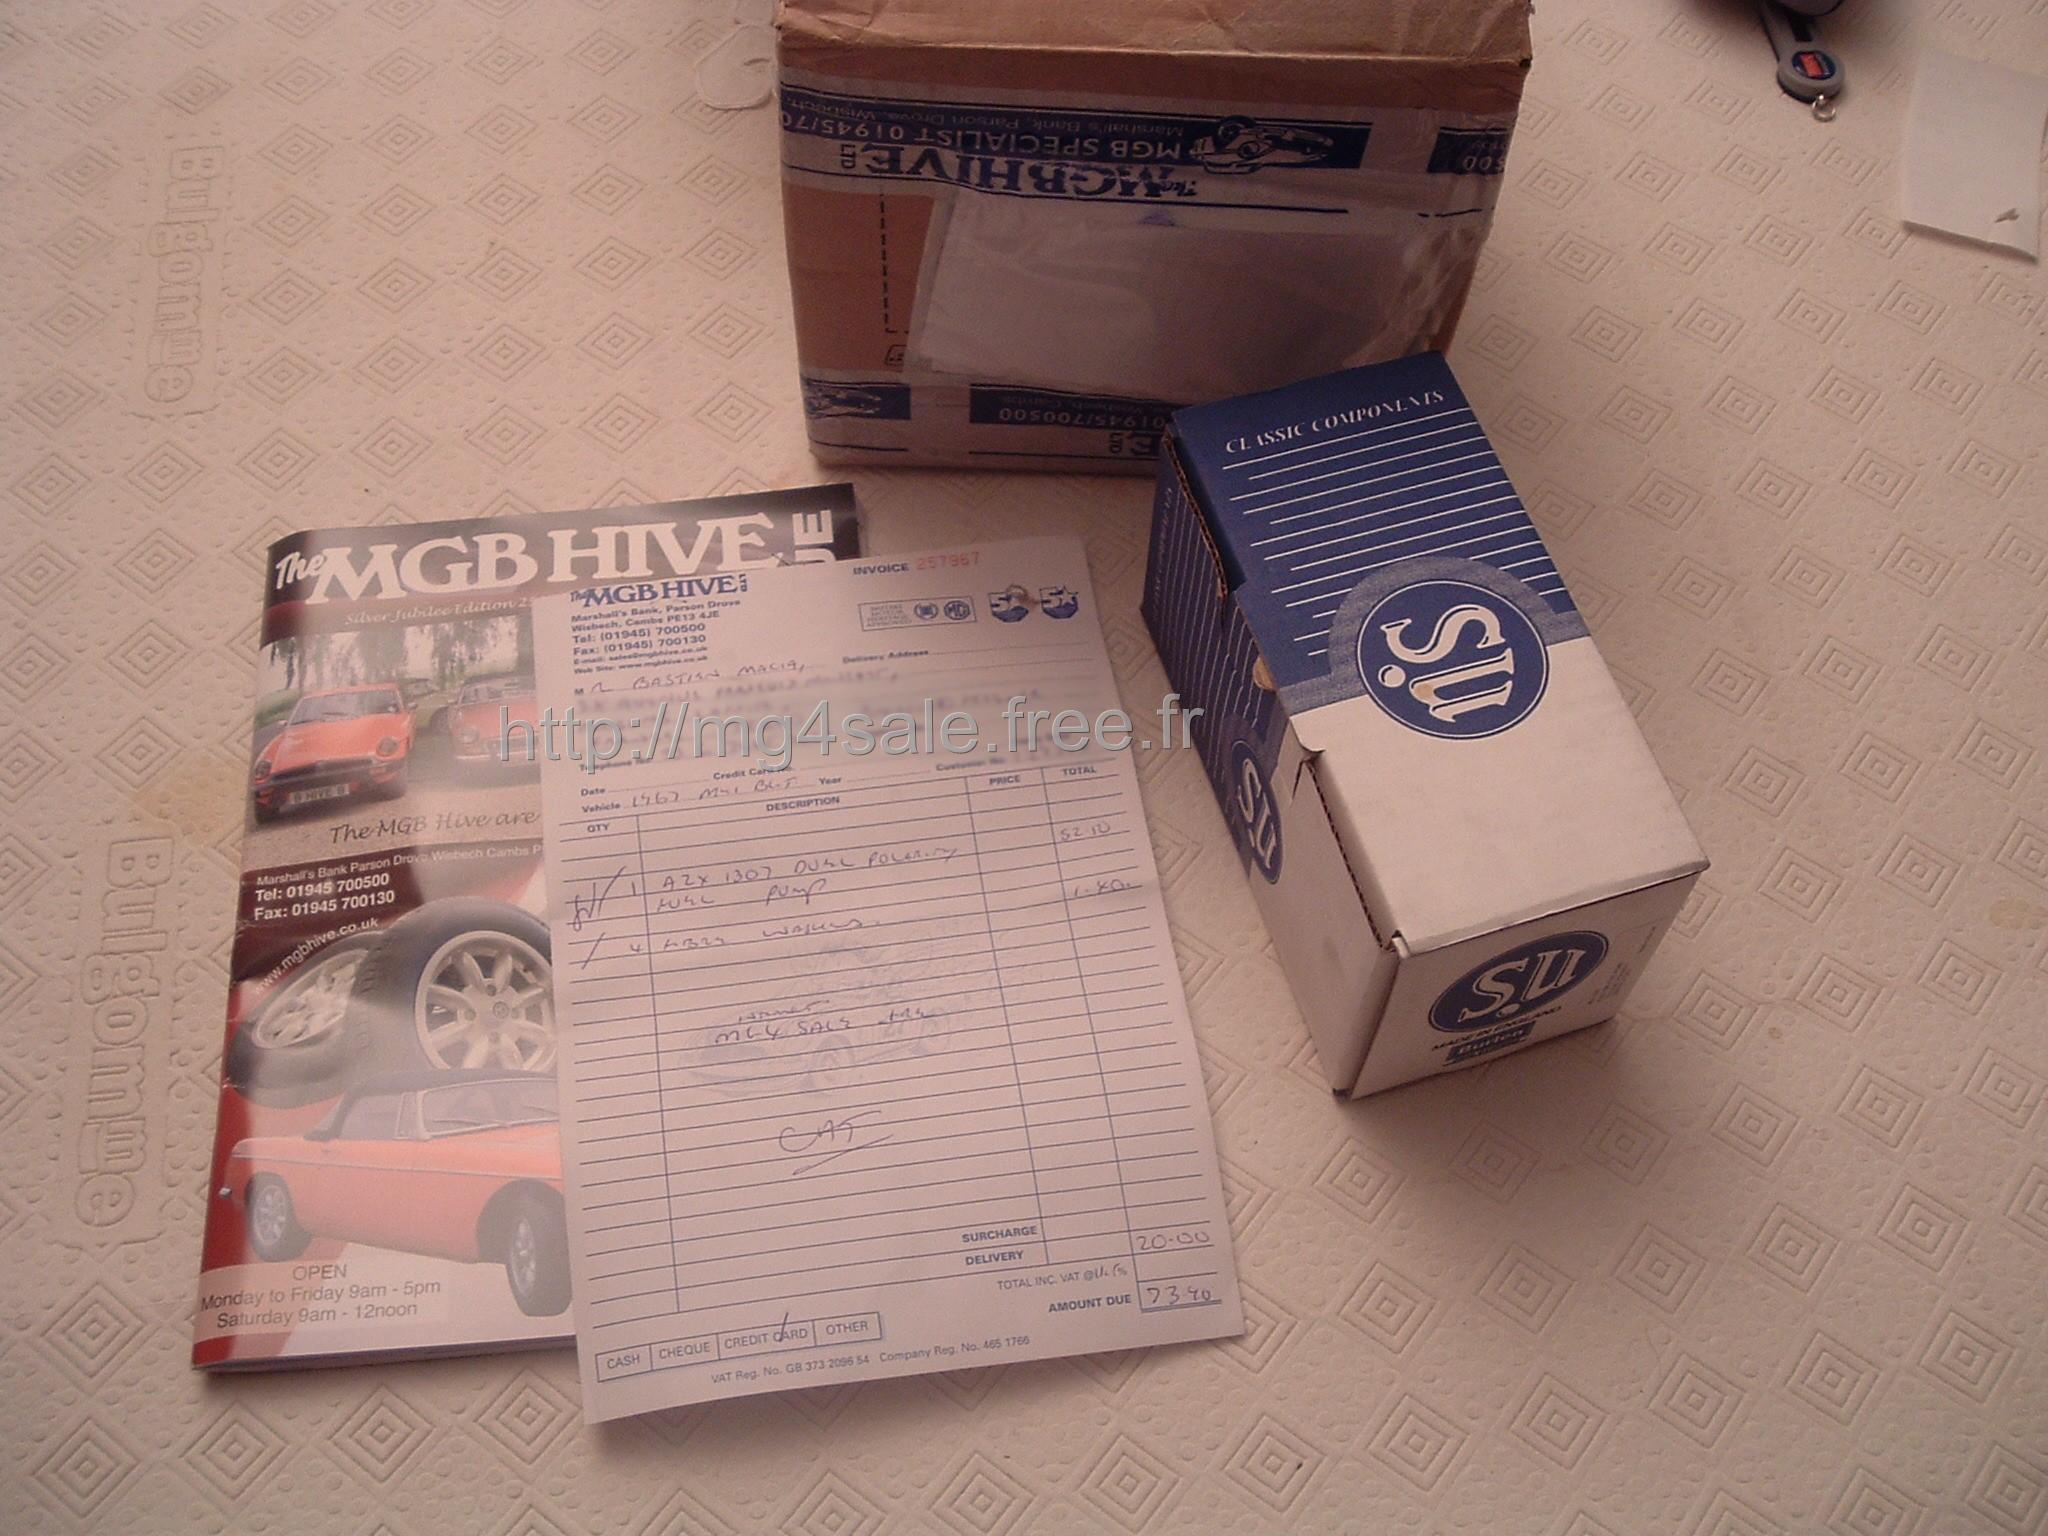
Fortunately SU fuel pumps are now dual polarity. I bought one from the
MGB Hive for only 52.50 GBP.
|

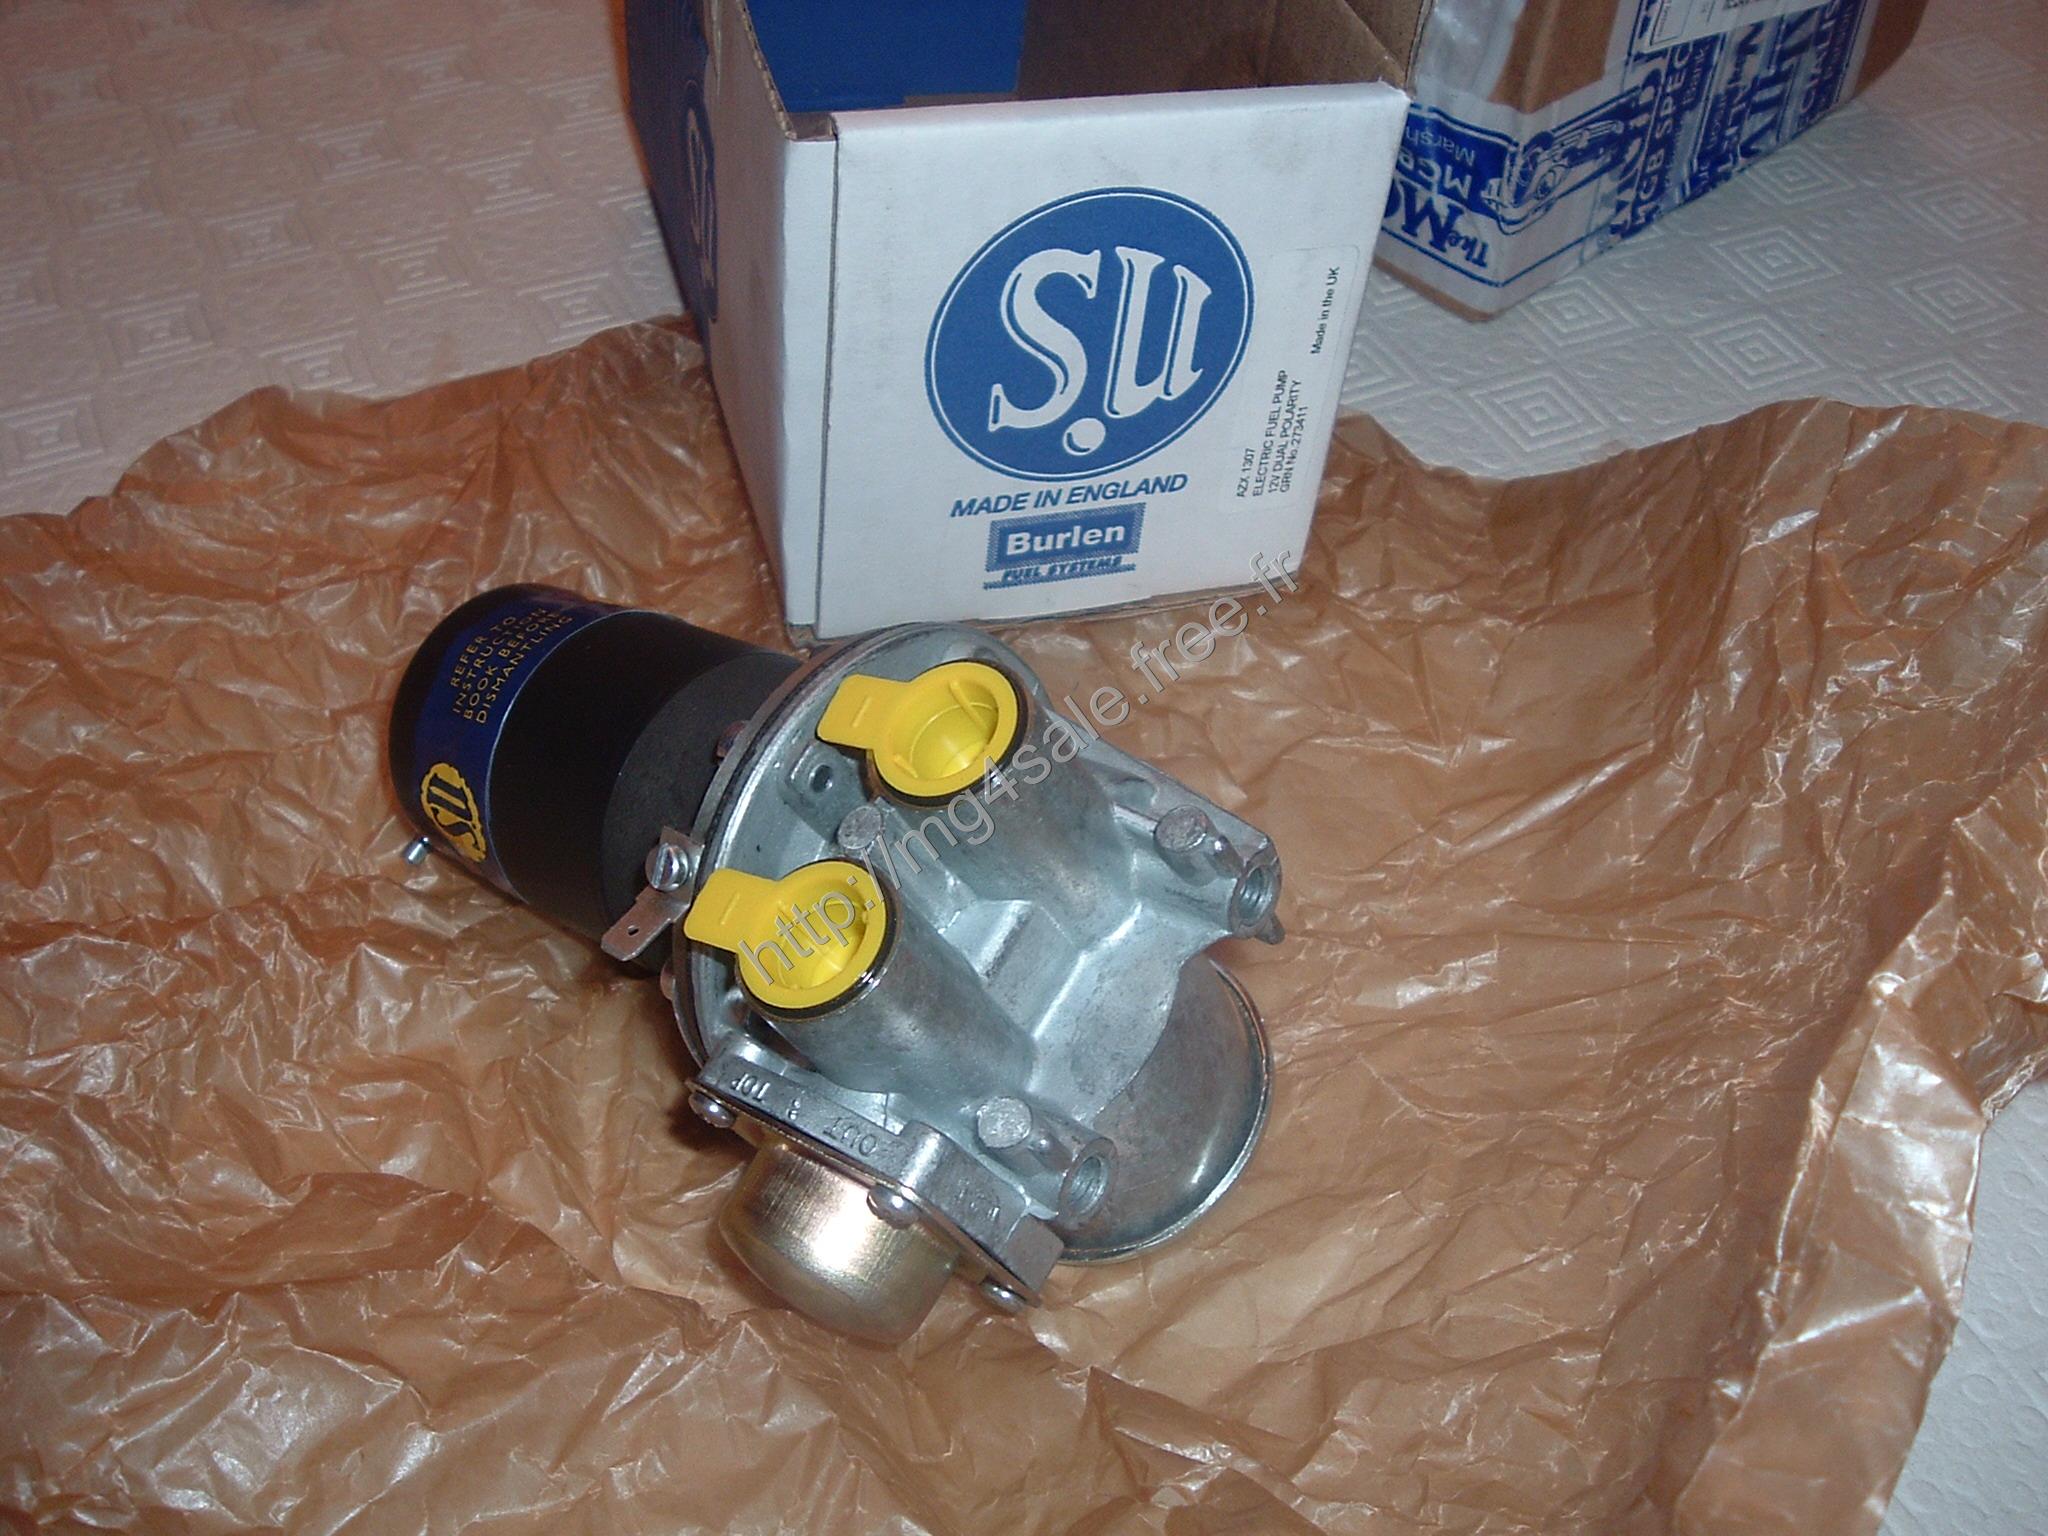
The
item was delivered quickly.

Take care
when removing the yellow plugs. The pump contains a bit of anti-seizure
oil.
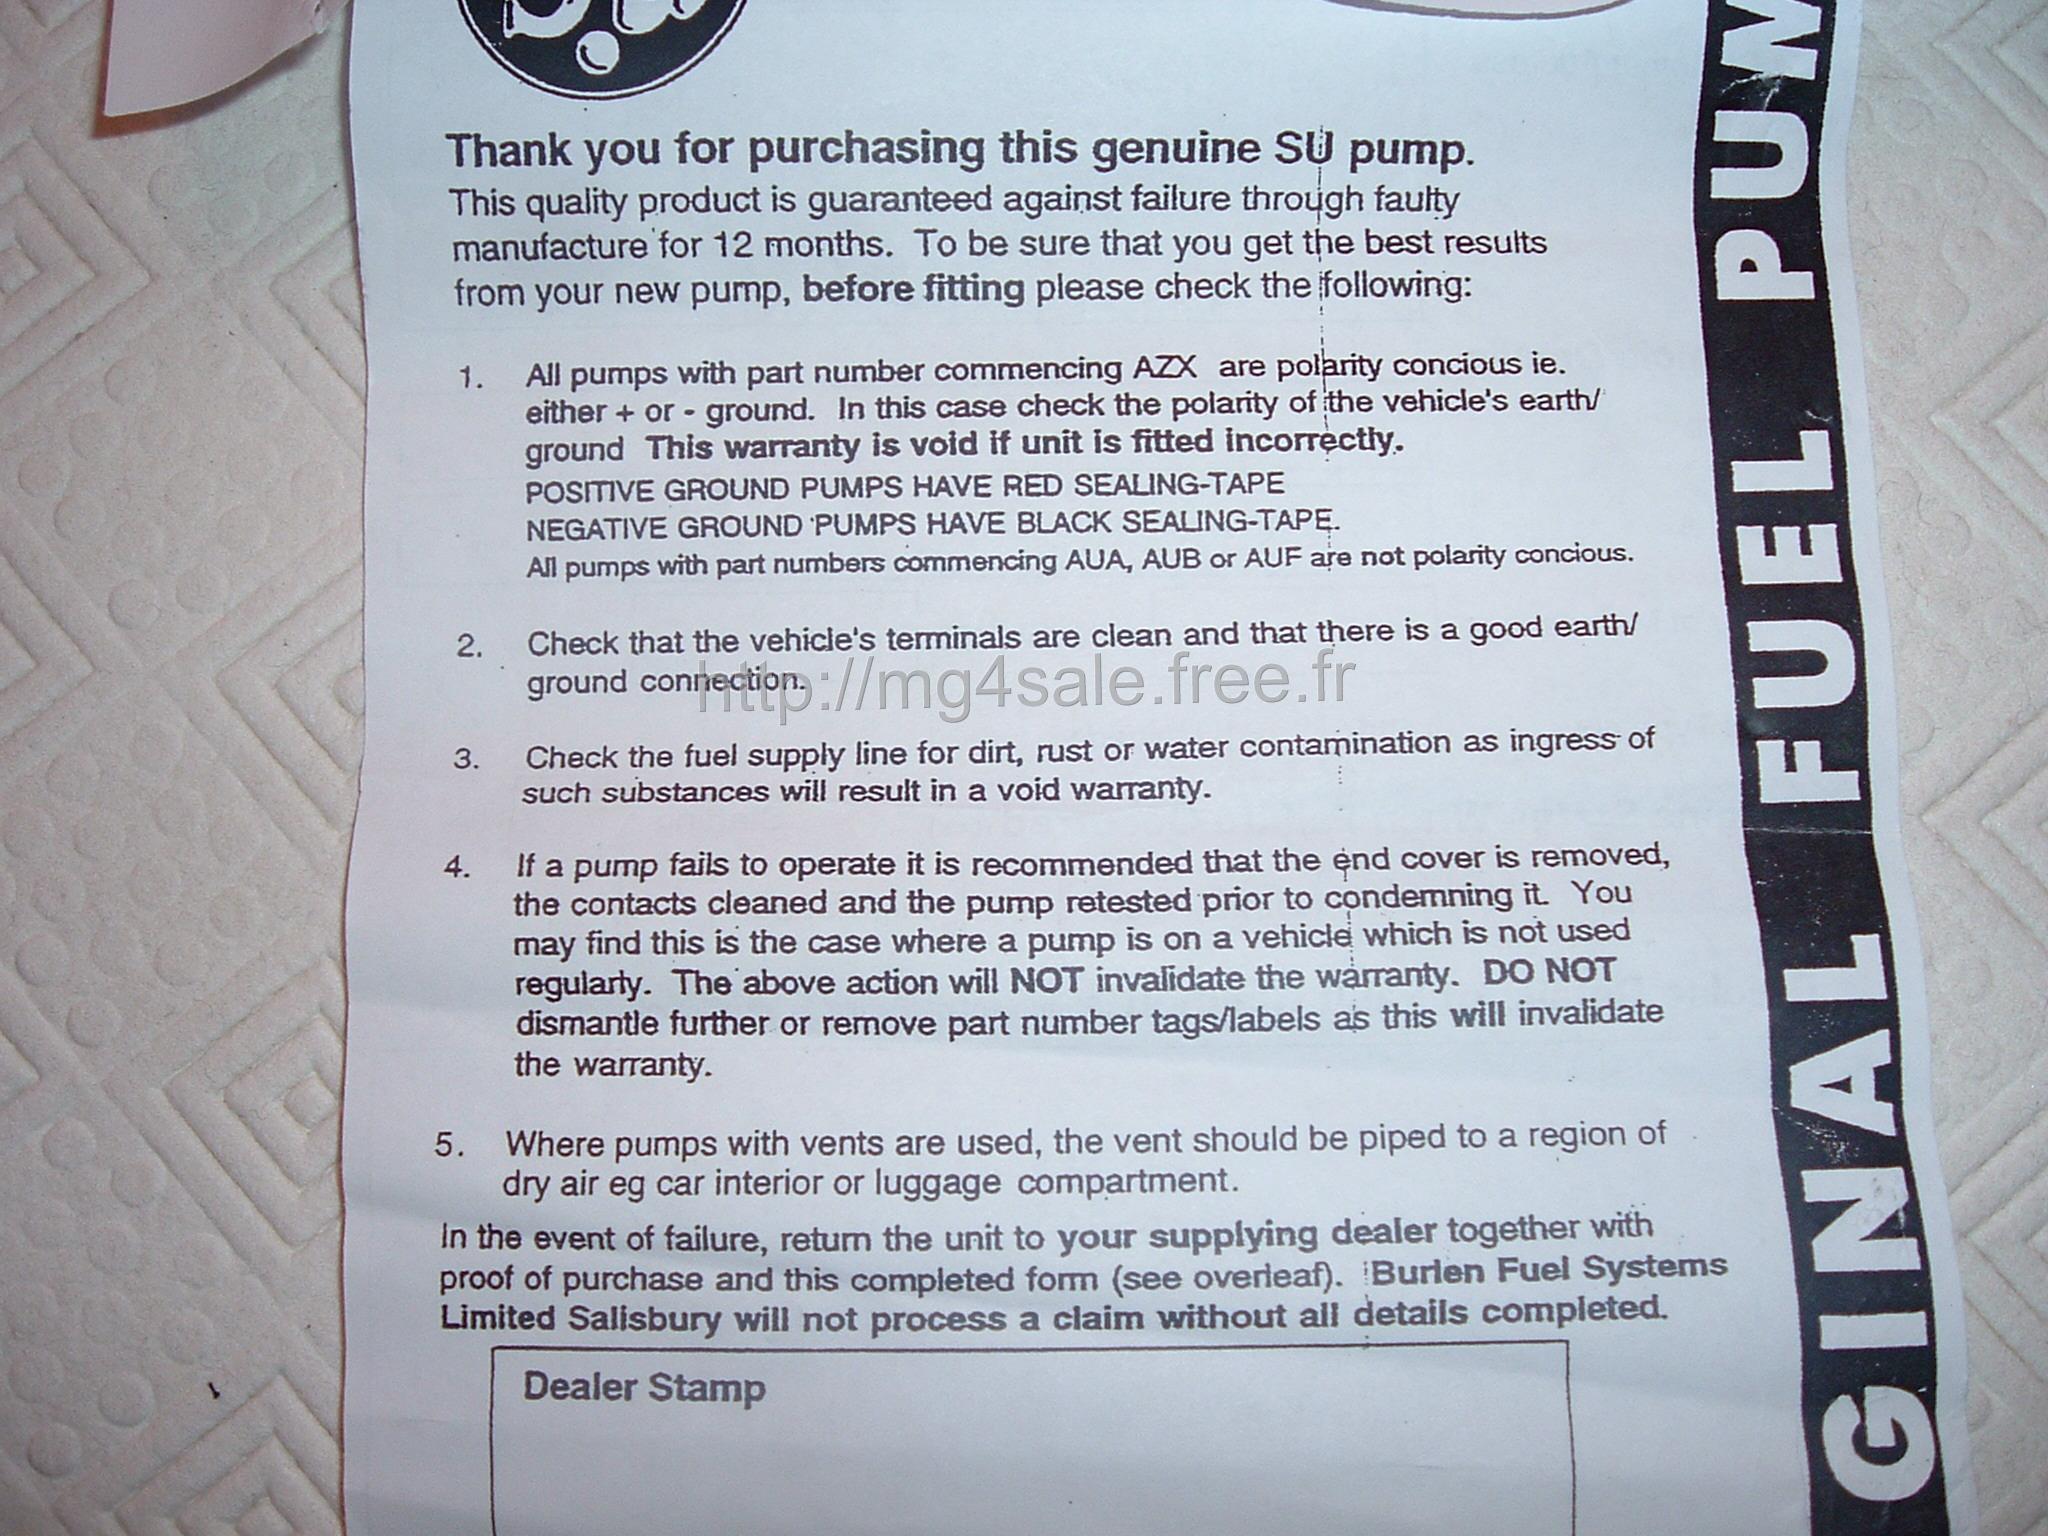
 Only few instructions,
written before september 2004.
Only few instructions,
written before september 2004.
|
So an add on indicates the new fuel pump part numbers since 2004. When
these became "dual polarity".
|

Fuel pump seal colour code for identification :
Positive earth = red seal.
Negative earth = black seal.
|

So what a blue seal
means ? As it was not written in the instructions, I assumed this is
for dual p
olarity..
|

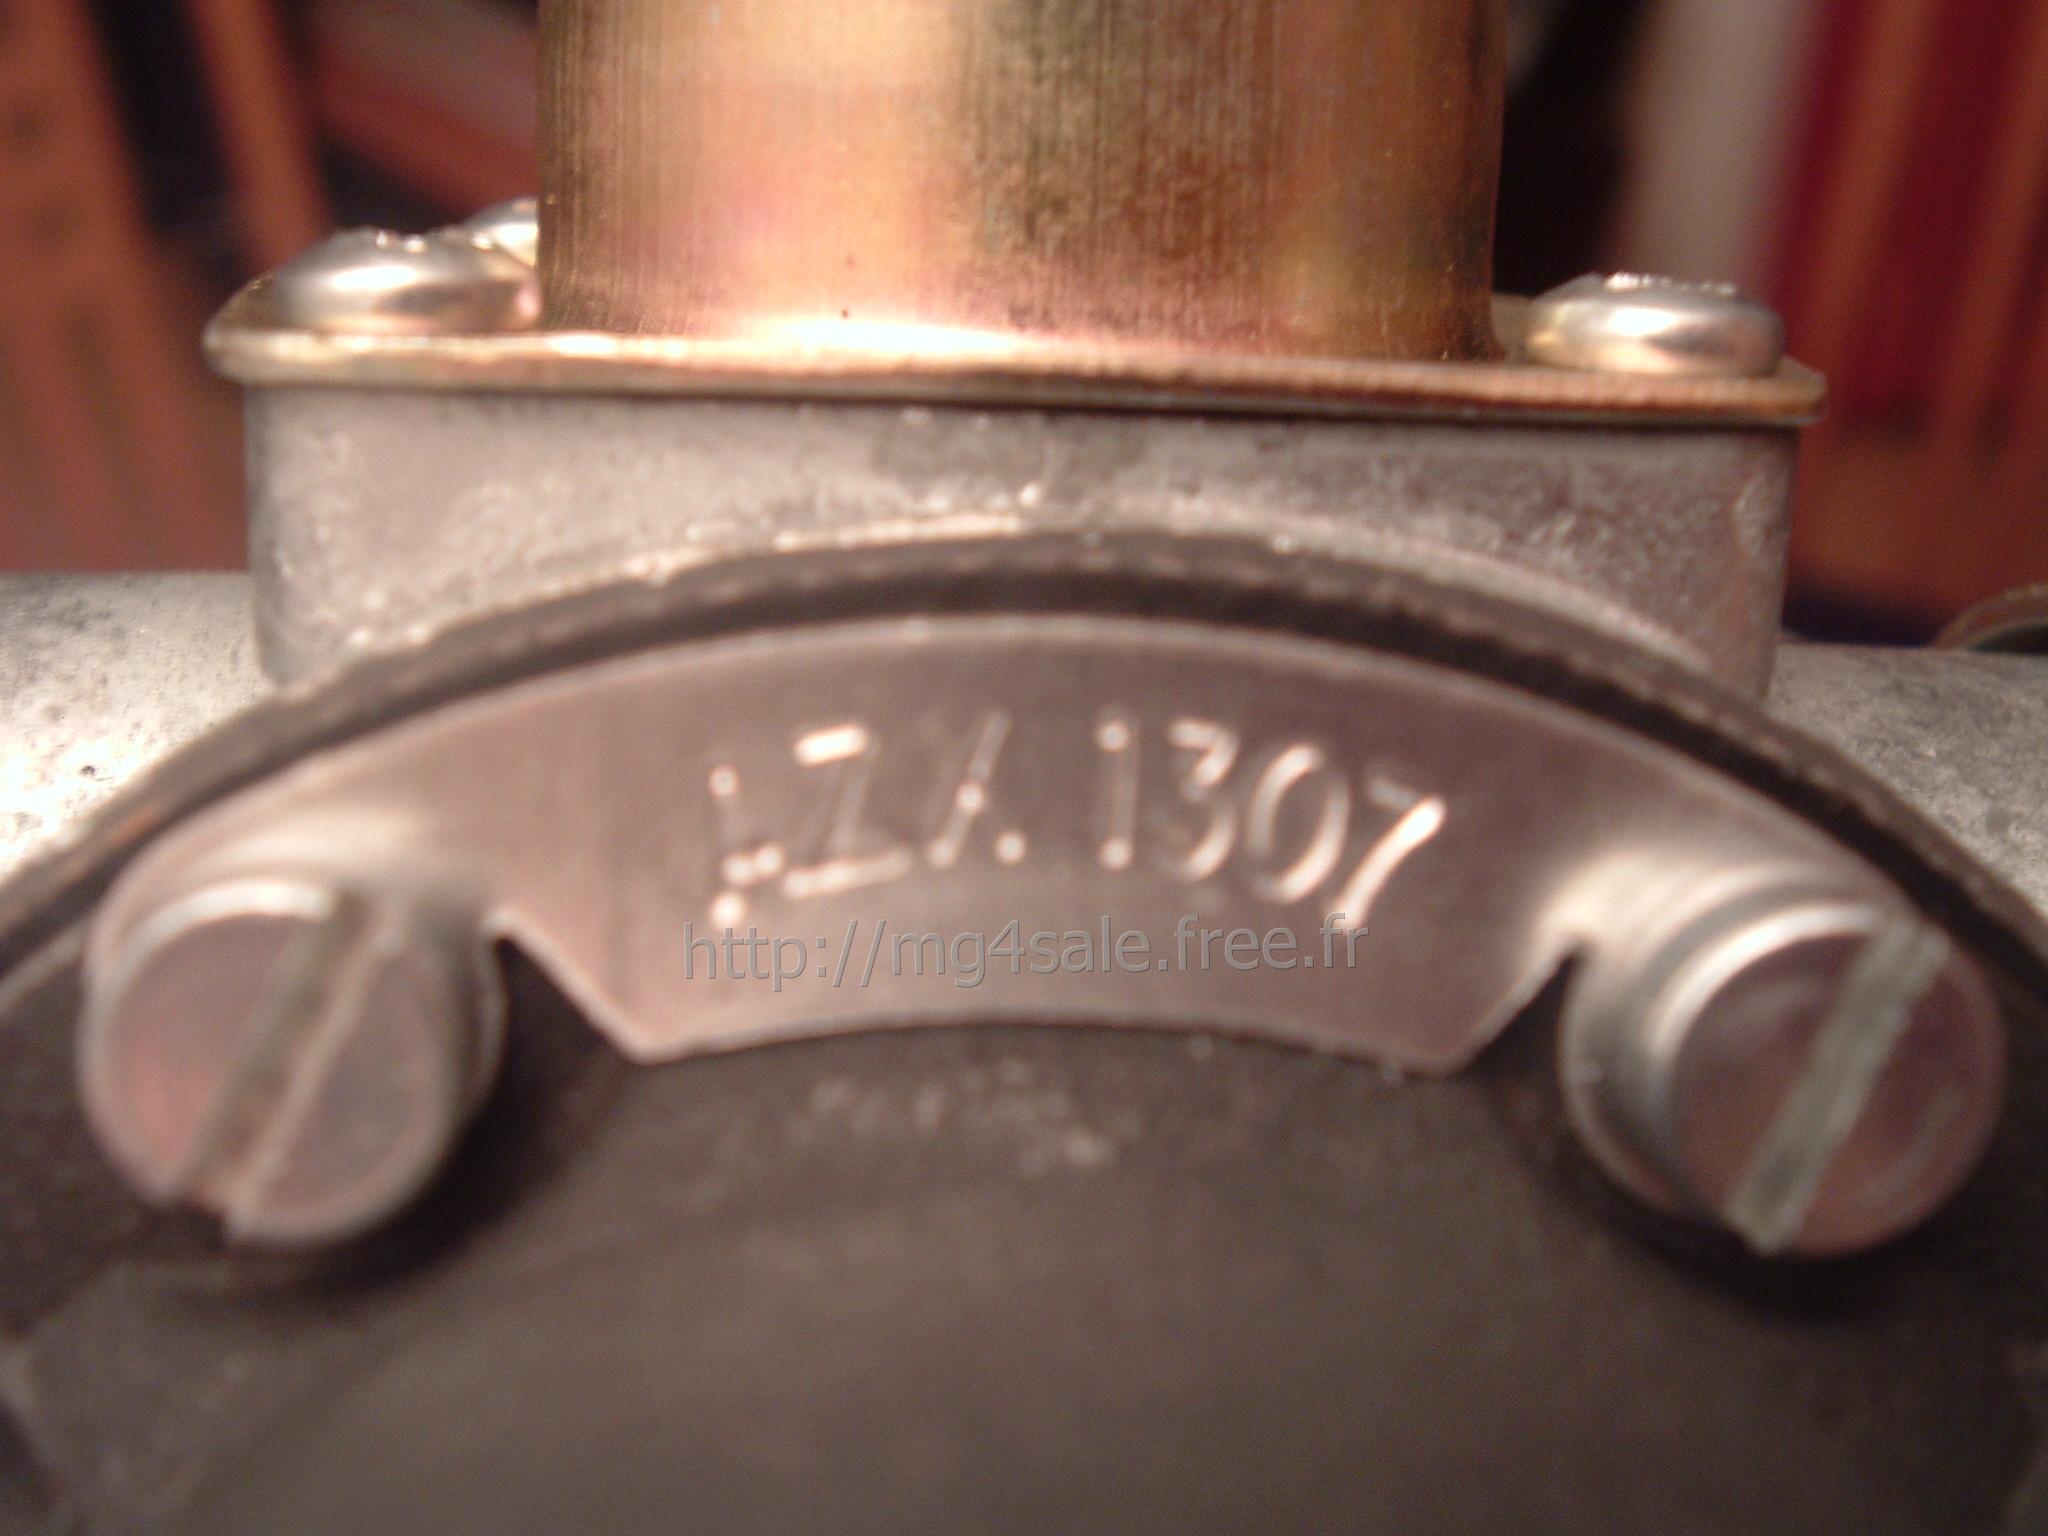
As British
Leyland / Rover part number is stamped on a plate located to the pump's
body. AZX1307 is the replacement part number for original positive
earth fuel pump : AZX1318
|
|
2nd step
: Su fuel pump replacement
I did no
know anything about dual polarity fuel fuel pumps and I was scared by
the eventuality of a short circuit
on a fuel line device, so i made every measure to minimize
any risk :
- electrical
main feed disconnected
- prevent from any fuel leak
- prevent any fire
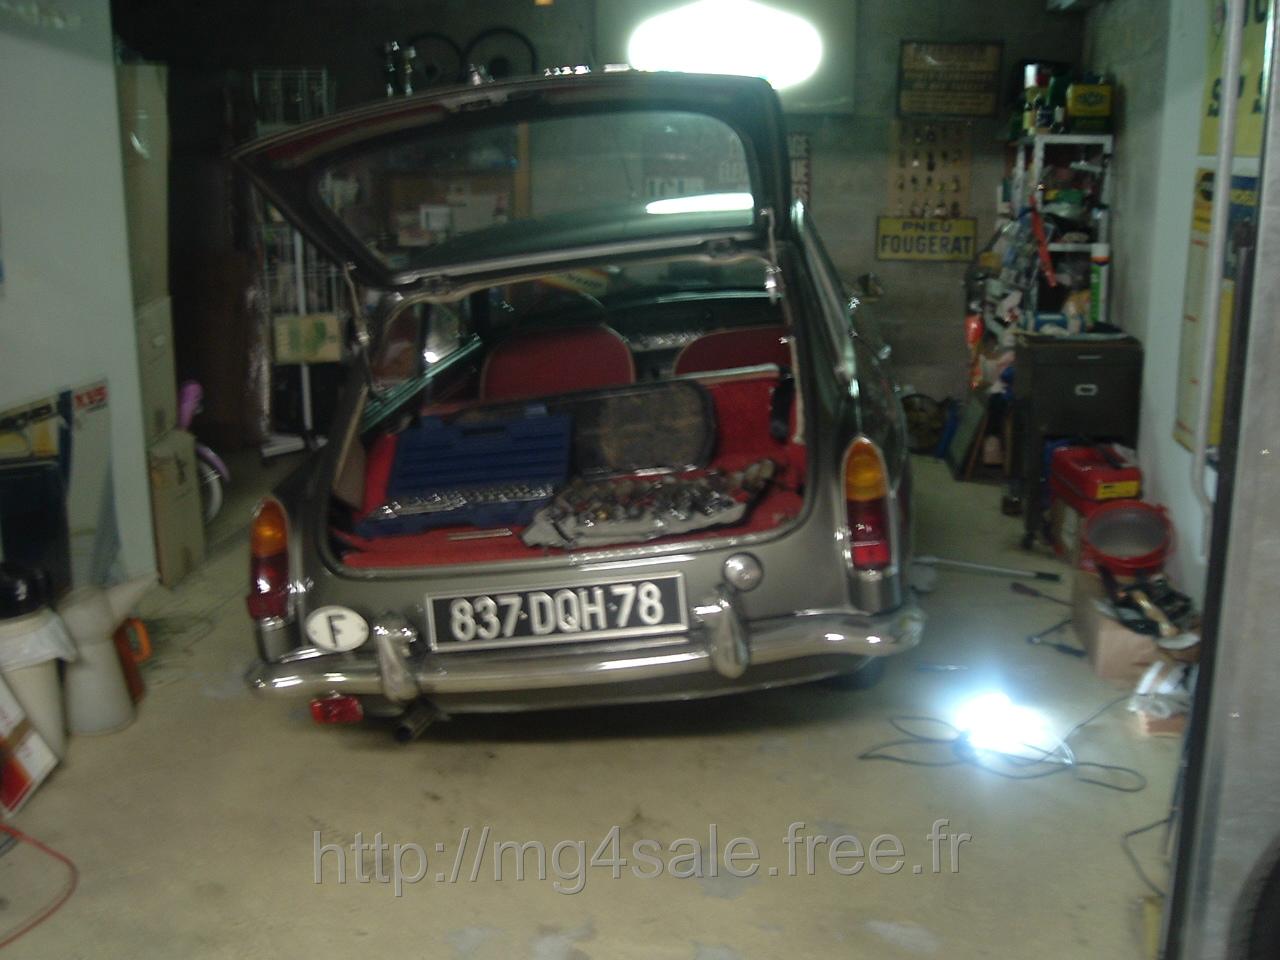
Once lifted, the MG leans on its left
side. Fuel in the tank naturally goes on the side opposite to the fuel
pump.
|

Therefore, expect to collect around 1Litre of petrol.
|

Security first. The battery is
disconnected, the MG is on a stand, sand would stop an eventual petrol
flood, while fire extinguisher is immediatly reachable. |
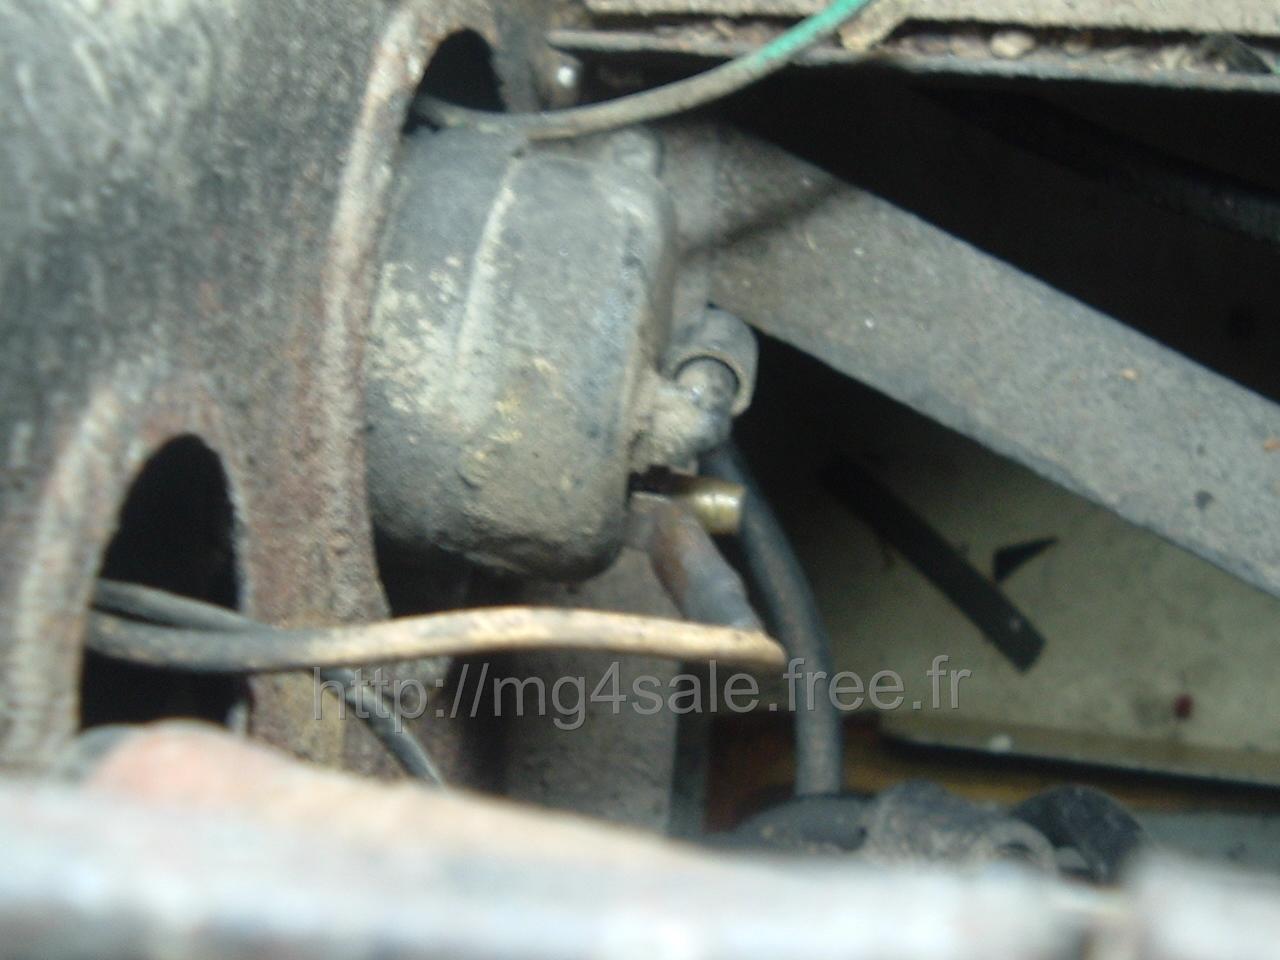
The Su pump's hot connection is
this this beige wire. The green wire is connected to the earth.
|
The old pump removal : petrol leaks from the hoses. The mounting
bracket is attached to the body with two 7/16 nuts
.
|
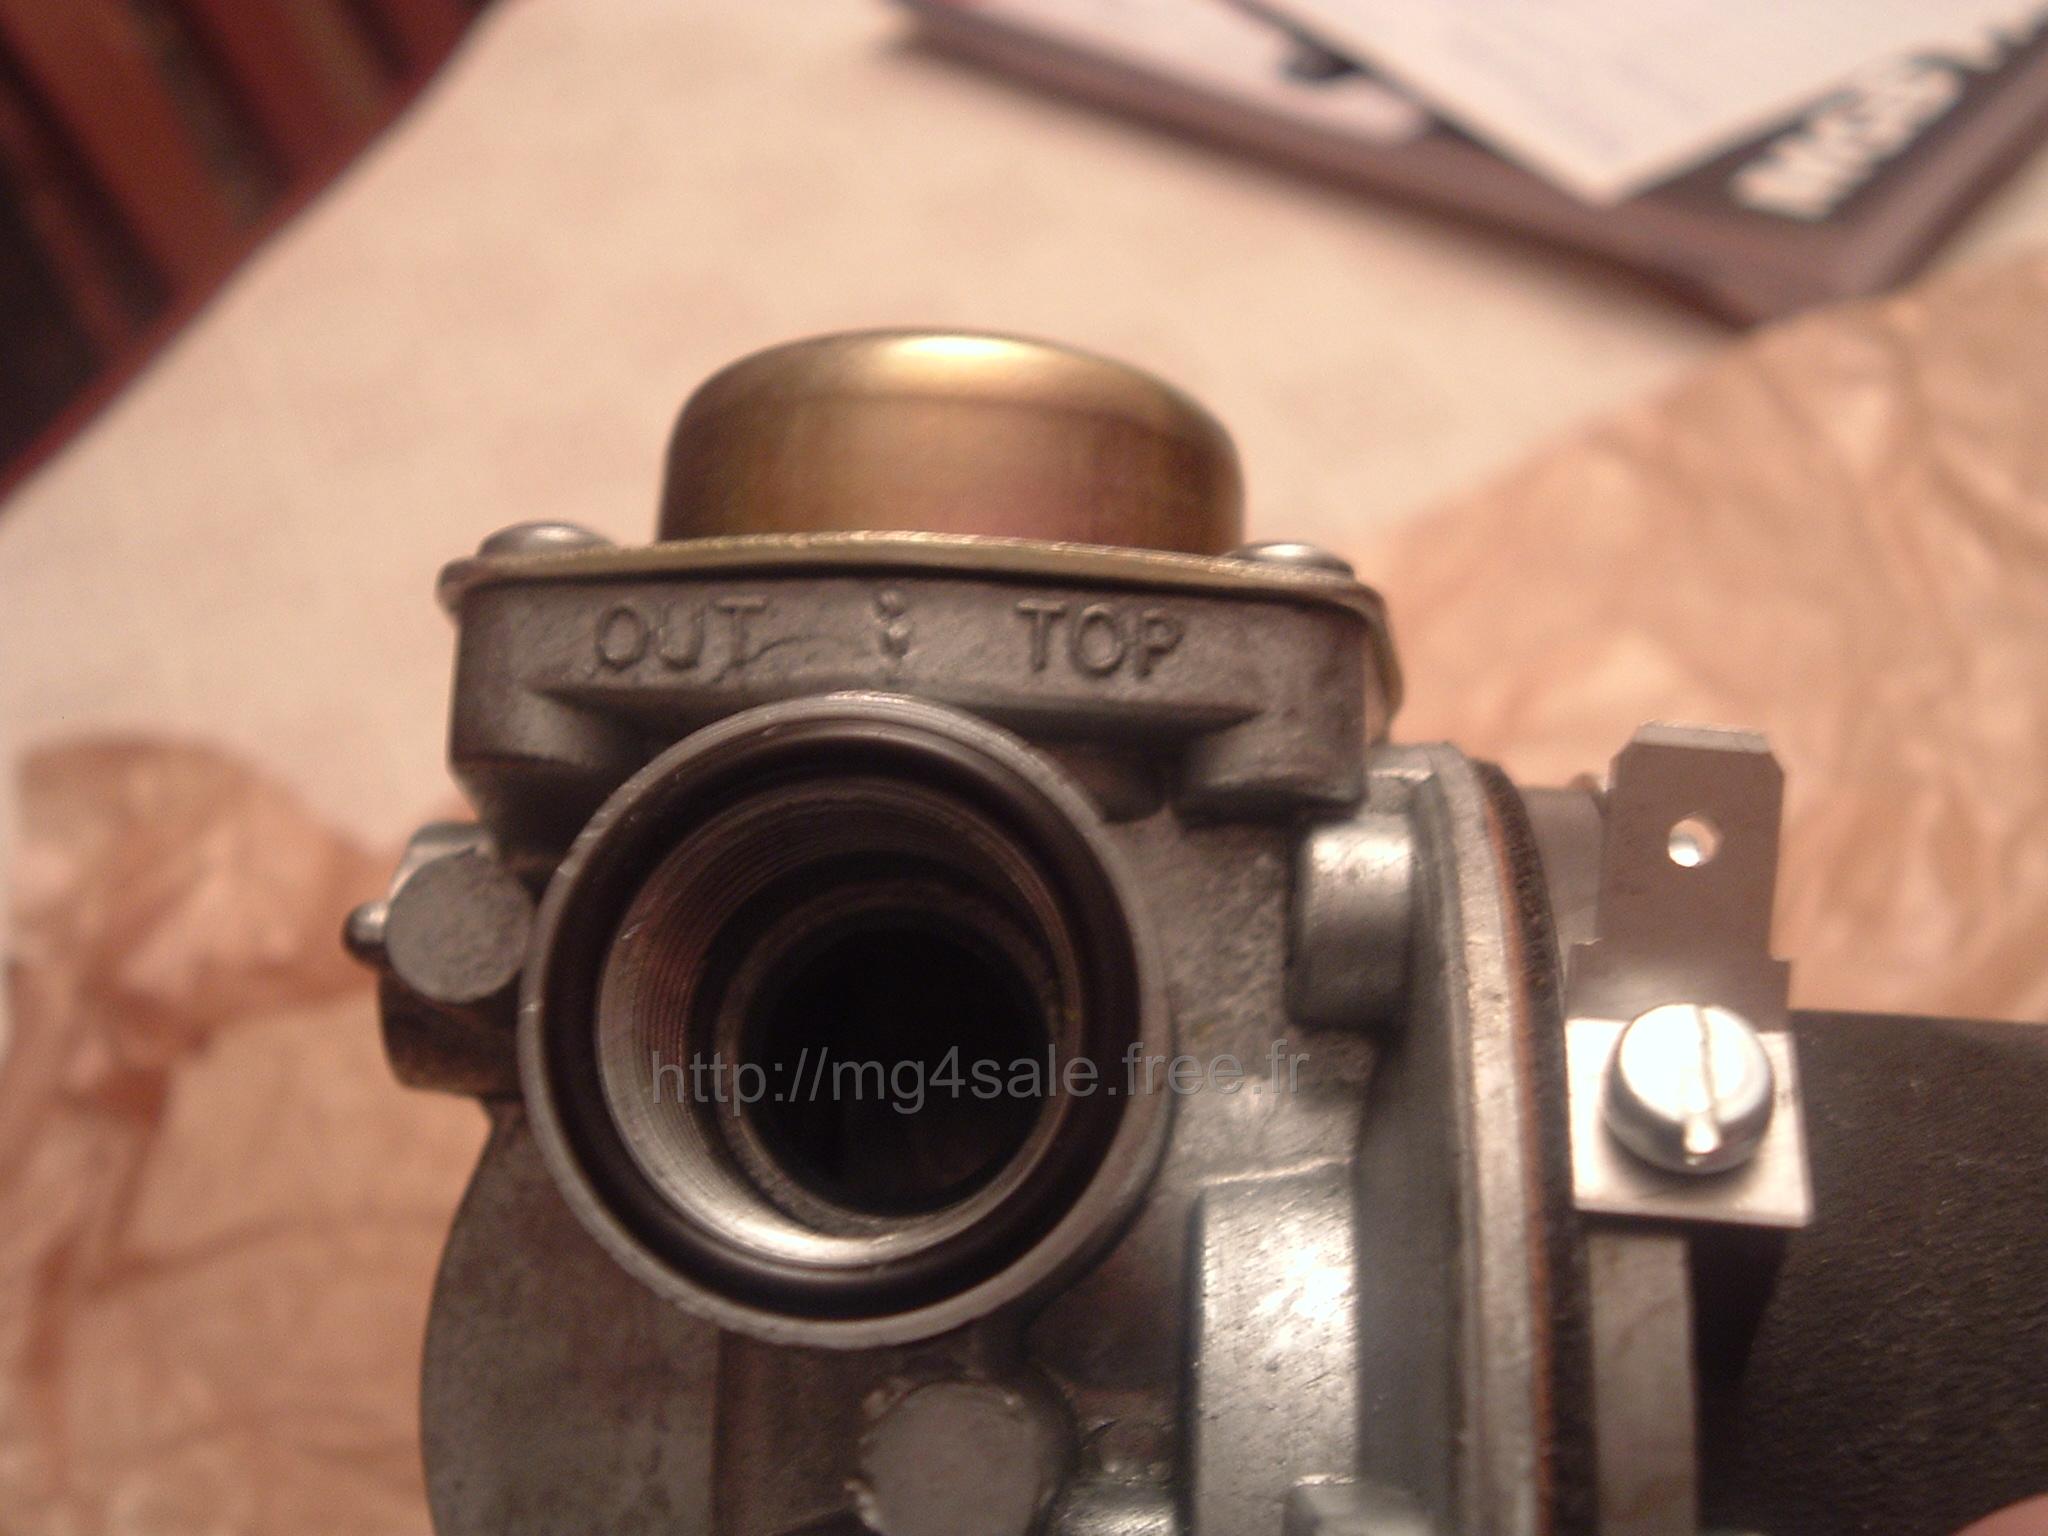
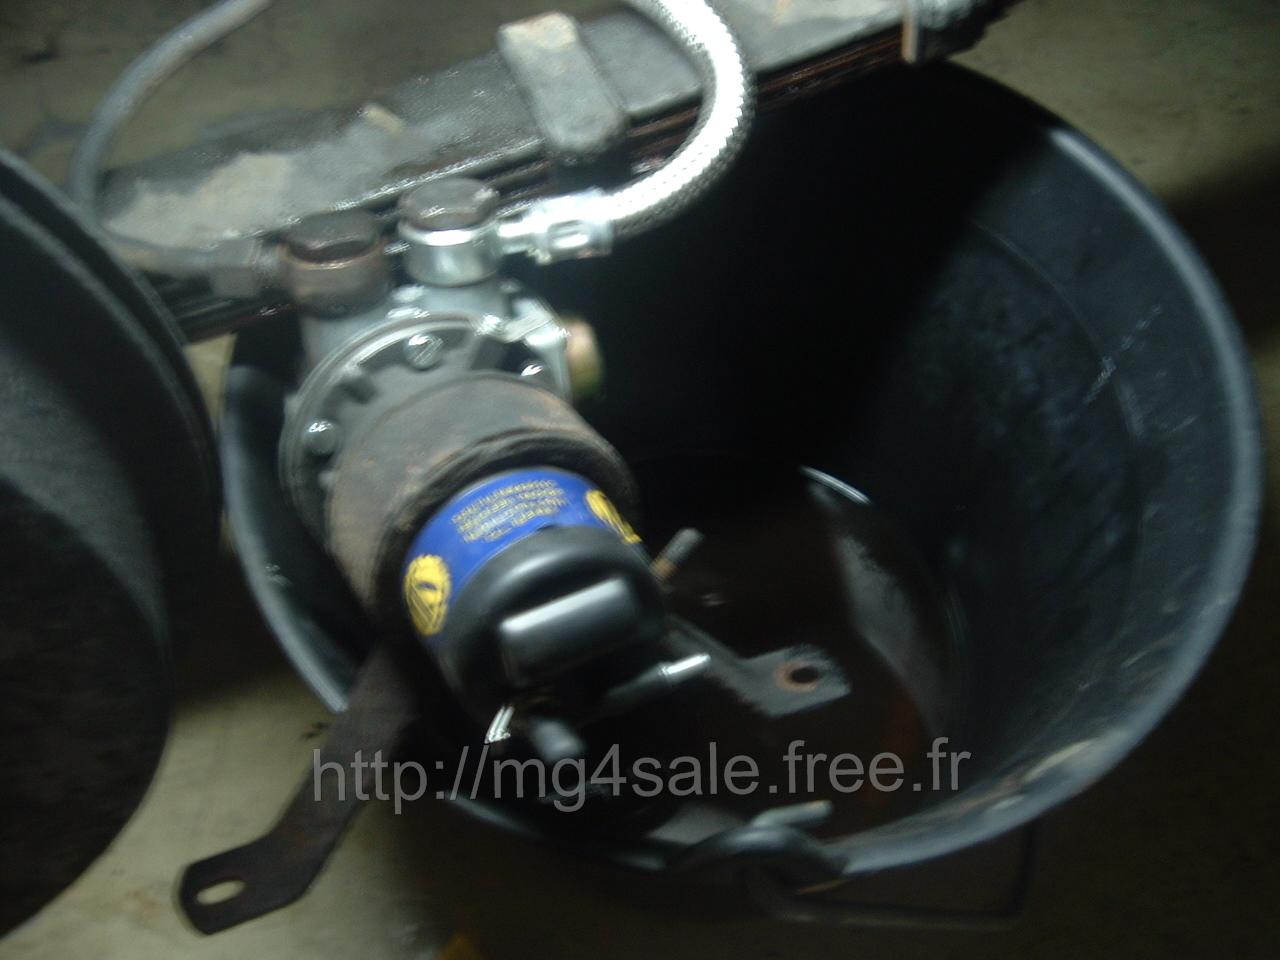
The new pump's outlet is clearly marked.
Beside is the earth connection.
|
The mounting bracket is fitted to the
new fuel pump prior to connect hoses.
|
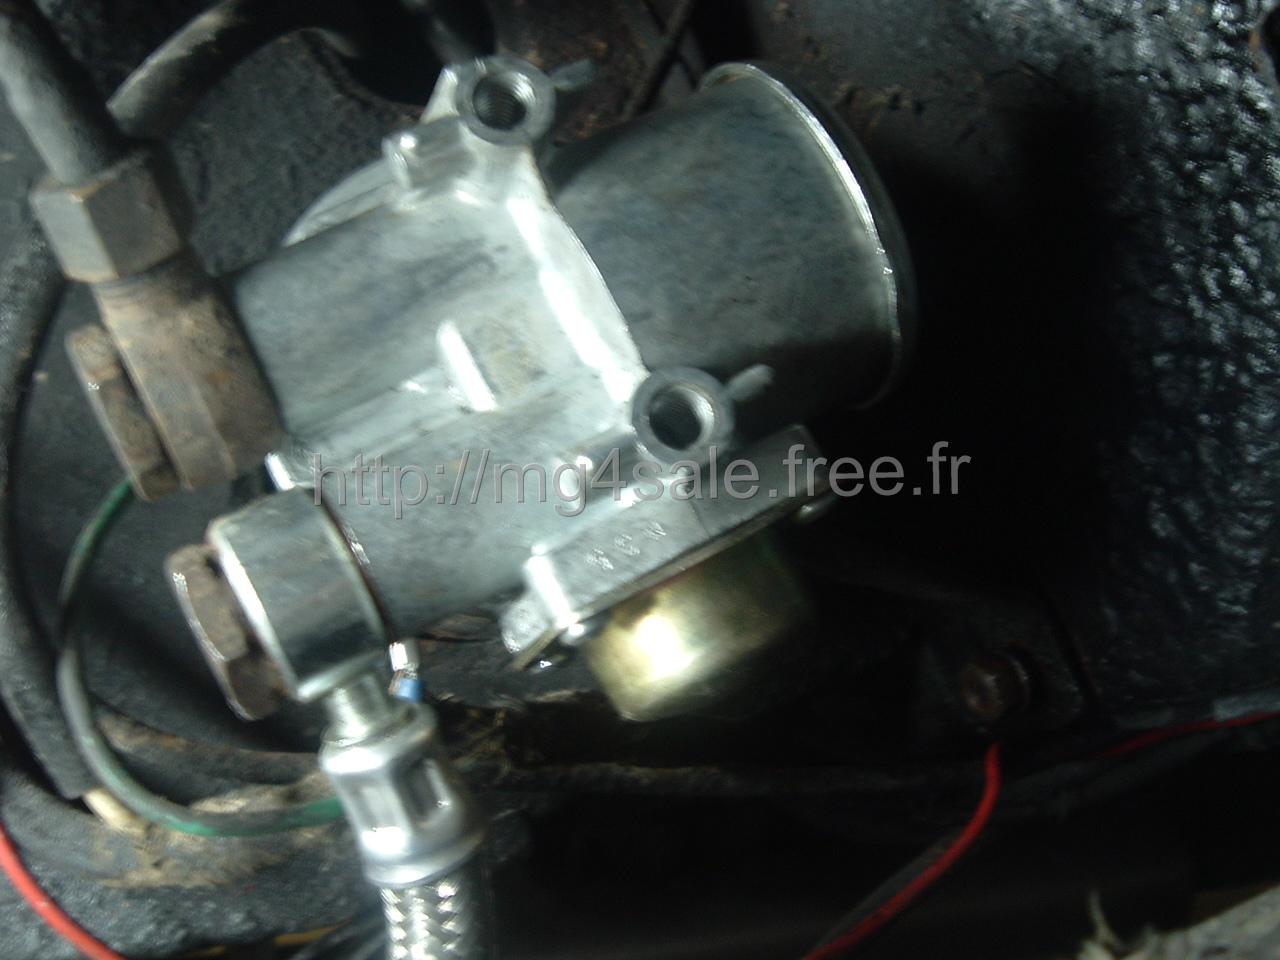
Now the new MGB fuel pump is fitted to
the inner body. The bracket's lower nut (7/16)
is visible on this picture.
|

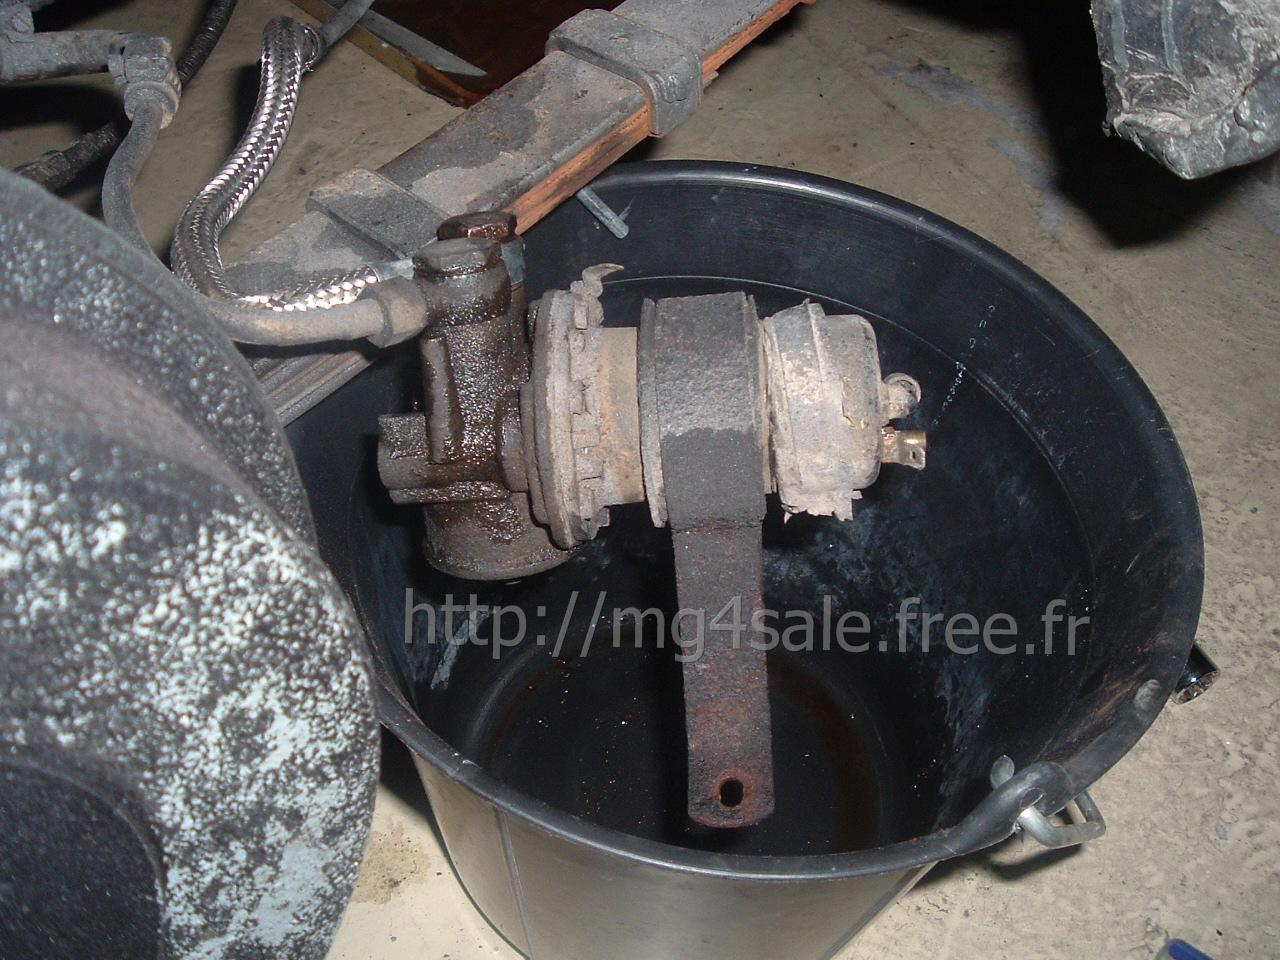
The collected petrol can be used to
clean the old fuel pump.
|

With ignition on, the new fuel pump starts its usual rattling.
Check your fuel line for any leak while the car is still jacked, and
once back on its four wheels with engine started.
While engine is started, expect some fuel to come out of the
carburettors overflow pipes. This is surprising, but it happens only
once.
|
|